I had the idea for the following lesson when I was trying to come up with a good analogy for ribosomes for Year 11. We were teaching AQA GCSE biology at the time (shudder – never again) and ribosomes were on the spec. No objections from me; I’m all for making the GCSE cell a bit more interesting, and it’s easy enough to label some dots on the cell diagram and attach an annotation, “site of protein synthesis.” But I wanted to go beyond the label and learn approach. I wanted to help the students actually understand what went on at a ribosome – as always, a student who understands something has, de facto, learned it, and will be pleasantly surprised when they come to revise the topic.
But to understand what goes on at a ribosome, you need to understand what a protein is. You need to have an idea of what they’re made of, and what their role in the body is. Most of this, of course, doesn’t get touched on until A-level. OK, yes, a GCSE student will be vaguely aware that proteins are “building blocks” (though, boy, doesn’t that sell proteins short! If I was ATP synthase, I would be mortified at being described as a mere “building block”) needed for growth and repair. Some may even recall from the digestion topic that proteins are made of amino acids, but none of this helps with actual understanding. After all, what is an amino acid? At this level, it’s all too vague and abstract, and the vague abstraction is rendered even more difficult by complicated technical terms.
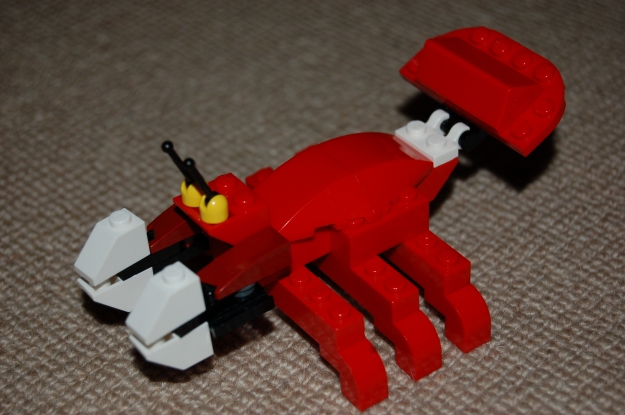
So what could I do? I wanted an analogy, something familiar and comfortable, to show that you can make different things with the same basic blocks. Hmmm, blocks. Something like… lego. Could they build things with lego? But how could I link this to ribosomes?
And then I stumbled upon these. http://www.lego.com/en-us/creator/products/3in1models and had my eureka moment.
Hopefully, you can immediately see the analogy I planned to use. 3 in 1 kits? In other words, you can make 3 different things from the same basic building blocks, depending on which instructions you follow….?
I promptly ordered a dozen sets (3 sets of four different ones; they’re pleasingly cheap) to make up enough for a class with one lego kit between two students. I cut up and laminated the different versions of the instructions – each pair of students gets just one of the versions. I set it all up in advance of the lesson so that…
… the students come into the lab and CANNOT BELIEVE THEIR EYES. They stop and look at me. Is that really LEGO ON OUR DESKS? They look around. Yes, it really is LEGO!!!. They look at me again. Really? REALLY? Is this for us? You want us to play with… LEGO???
I don’t think I’ve ever made a class of students happier. Indeed, at that point I didn’t really care whether the lesson was going to work or not. Anyway, once they got over the shock, they gleefully throw themselves into it, and for 15 happy minutes they follow the instructions and build their particular version of whichever kit they’ve got (the helicopter, or the aeroplane, or the racing boat, or whatever). There’s no rush here; they’re having fun – let them take their time, play with the models, whatever.
Once they’re all assembled, it’s time to tackle the biology. Now it’s crucially important at this stage not to rush the explanation. I’ve heard teachers say that the demo, the practical, the lego is just a bit of fun, some light relief to break up the monotony of diligently taking notes, but this couldn’t, in my view, be more wrong. Yes, the lego is fun, of course it is, but it’s also got to stimulate curiosity and questions, otherwise the learning outcome is lost. This, for me, is where the real lesson planning comes in, working out your questions in advance. You want a line of answerable questions that will lead the students to the right answers without you ever actually just telling them…
Now, chances are that they’ve not been thinking much about Biology while they’ve been building their backhoe loader, so…
….get all the models onto a single desk and gather the students around.
Start by asking, “So, what’s all this about, then?”
Huh?
Well, this is a Biology lesson. Why have I got you all making lego?
They won’t know, obviously, but they’re refocused, and they should be curious. Yeah, what is this all about?
Group models from the same kit together. Get them to describe their model.
What’s that?
It’s a rescue helicopter!
What’s it for?
For rescuin’.
What’s that?
It’s a digger.
What’s it for?
For diggin’.
And so on.
So you’ve built loads of different models, all with very different shapes and functions, but made out of basically the same stuff (if it’s from the same kit, it’s exactly the same stuff). What are the things that you build in your body? What are the things that do things in your body? What are you made of?
And so they gradually start to see that the lego models are the equivalent of proteins – can they think of any examples? In Year 11, they should, with a little prompting, be able to arrive at all kinds of enzymes, some hormones, keratin and collagen, muscle, maybe even antibodies …. diggers and helicopters, aeroplanes and speedboats, racing cars and dump trucks…
So what do the individual bits of lego represent?
Huh?
Well, what are proteins made of?
Aha, amino acids.
Right. And where does all this assembly take place? In other words, what were you yourselves representing?
Ribosomes.
Oh, but how did you know which model to build?How does a ribosome know which protein to make?
We had instructions.
So you did. What do those laminated sheets represent?
Huh?
Inside a cell, instructions, information, what form is it in?
Oh, DNA.
And so on.
As I say, I use it with Year 11, but it could be equally useful with Year 12, or even Year 13 – no-one is ever unhappy to play with lego!
A few practical points:
- The lego bits are tiny – keep each kit in a shallow plastic tray to minimise the risk of losing “amino acids”.
- Get the students to disassemble the models at the end, or your poor technician will spend hours doing it.
OK, that’s enough for now, and for 2014.
Have a splendid holiday and I’ll be back in the first or second week of January 2015.
